DIY Fluorescent Light to Flush-Mount
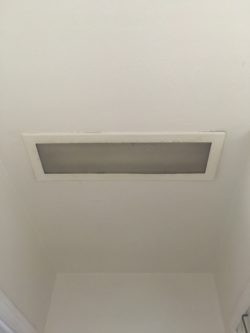
When we bought our house in 2015, the hallway lighting situation was grim: an old, painted-over inset fluorescent light was the only light source. It took several seconds to come to full brightness once it was turned on, and it looked very dated. I wanted a regular flush-mount light in its place.
I had been complaining about several house-related projects I wanted to start but didn’t know how to do, and Daniel told me to just pick something and go with it, so I did! I started by researching how to replace a fluorescent light with a standard flush-mount one, and then I took the step of ordering a new light fixture.
To start the demo, we turned off the power at the breaker, and then ran a box cutter around the frame of the light to cut the old layers of paint free. Once that was complete, the edging came off and we were able to remove the diffuser and the fluorescent tubes as well. Then we pulled out the entire metal housing box and were left with… a giant ceiling hole.

We took a break for about a week to allow product orders to arrive and to formulate a plan. I did a lot of Googling and asking my dad and assuming we’d figure things out.
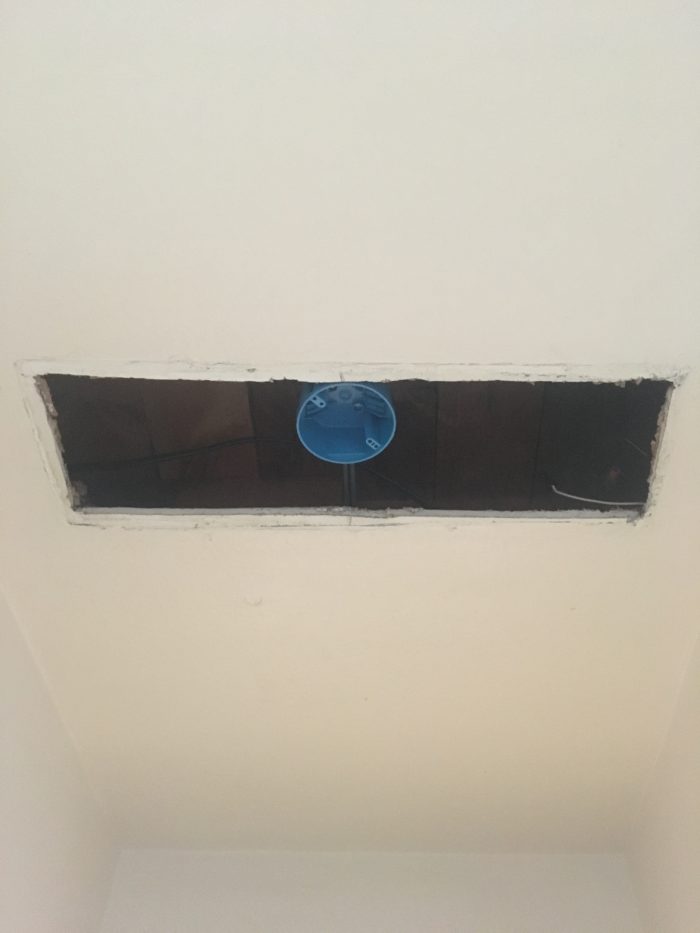
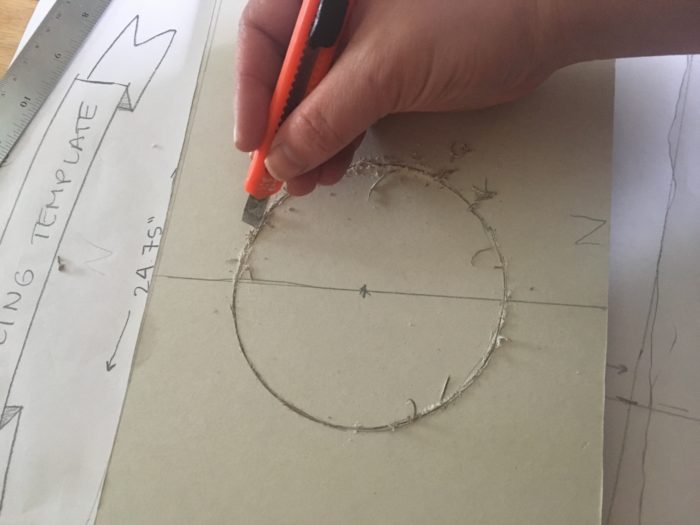
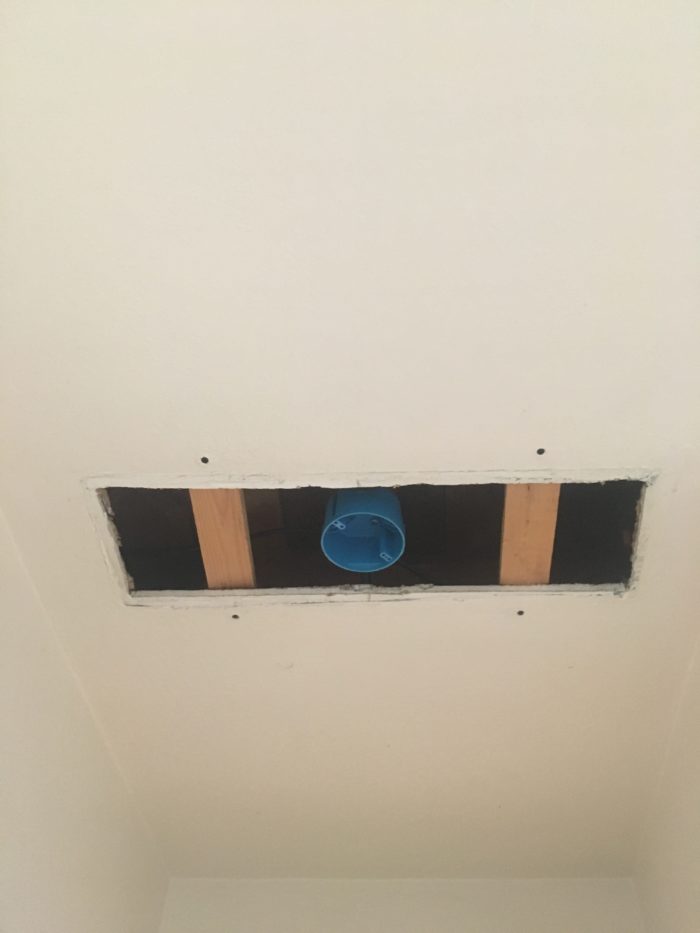
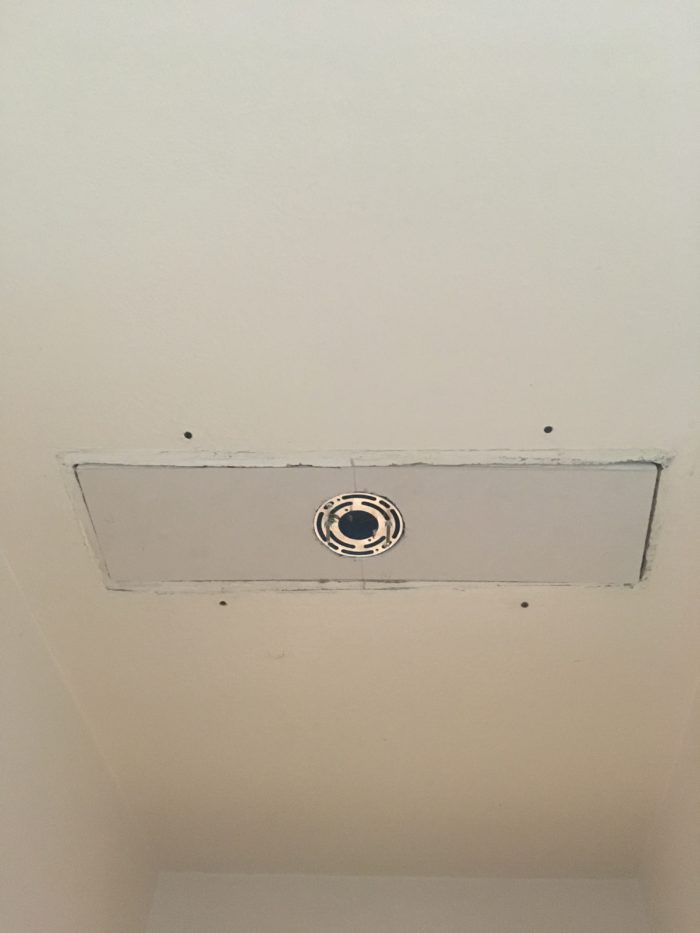
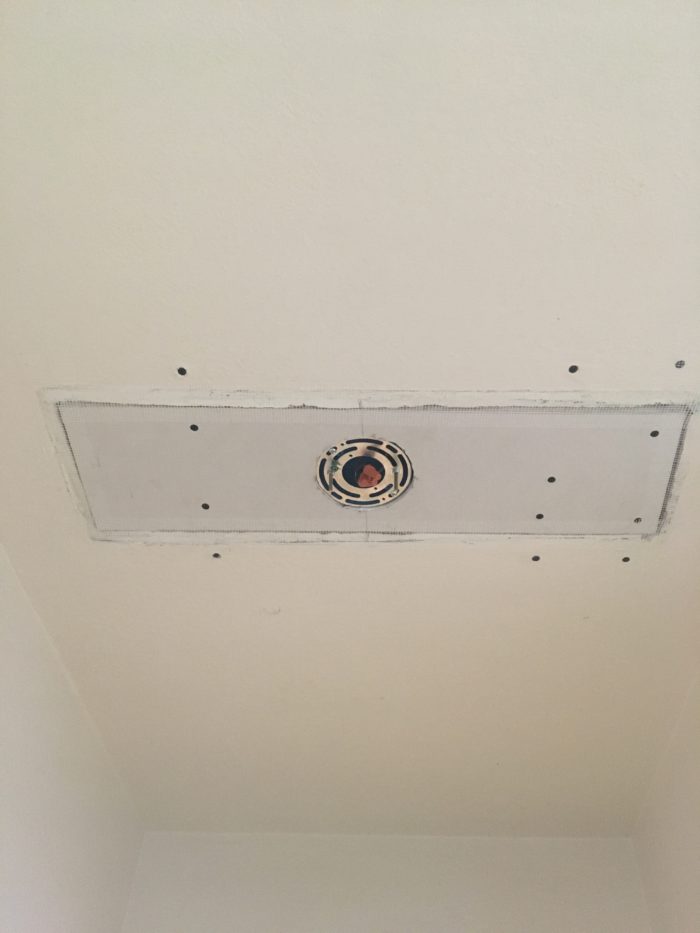

As the gallery above indicates, we installed the electrical box, cut out a circular hole for it in the drywall patch, installed the wood supports, dry-fitted the drywall patch, screwed in the patch, and then used drywall tape and joint compound to patch the ceiling. Whew!
I let the joint compound dry overnight, and then after work the next day I sanded all the worst lumps and ridges out. I didn’t think to buy any ceiling-specific paint beforehand so I raided our shed to see what the previous owners had left behind. There was a partial gallon of old flat white interior paint that was weirdly thick/grainy and kind of separated but you know what? It was a holiday and the paint store was closed so I just went with it.
It’s not perfect and I will need to actually paint it with good ceiling paint at some point in the future, but several rooms in our house could do with some ceiling paint as well, so eventually I’ll get the good stuff and commit to doing several rooms. I was not going to do that for this project.
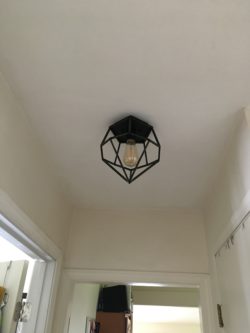
My haphazard 1.5 coats of paint dried quickly, and then it was time to install our flush-mount light! I got the Geometric Diamond Ceiling Light from Shades of Light designed by Young House Love, and an LED Edison bulb to go in it. The bulb is a little yellowy for my taste but it’ll do for now!
I am so pleased. I’ve been thinking about doing this since we bought the house, but had assumed we didn’t know enough to do it. Turns out that flying by the seat of your pants can sometimes work!
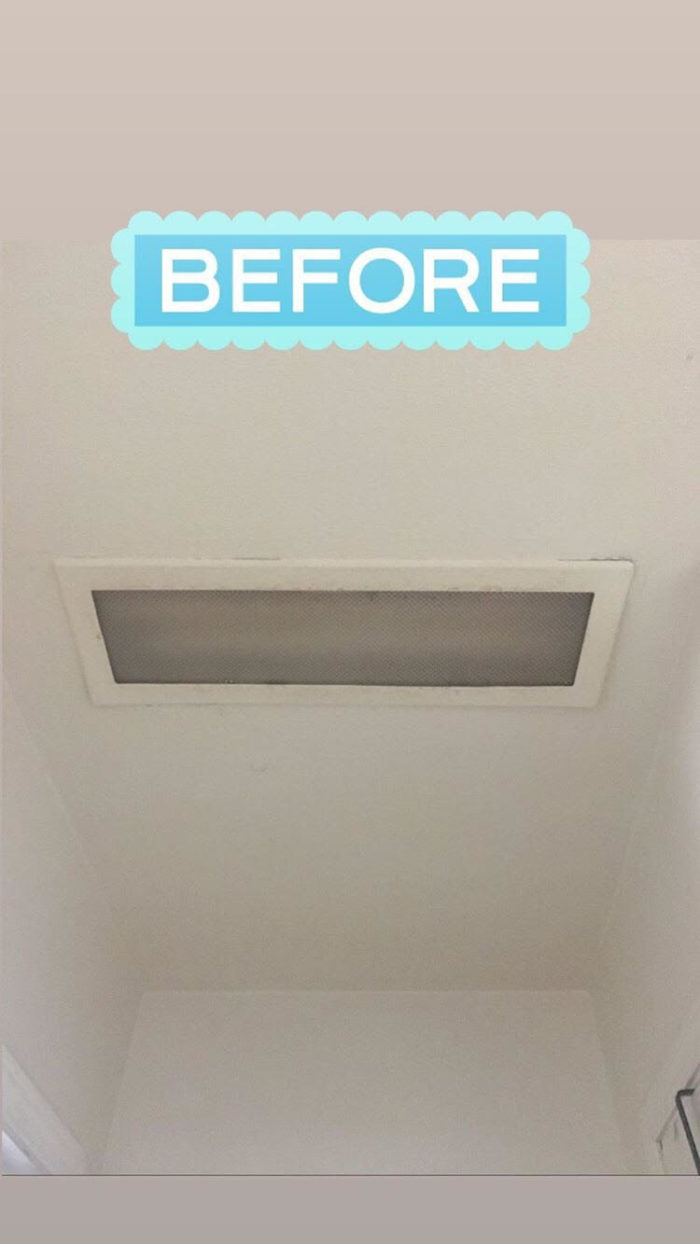
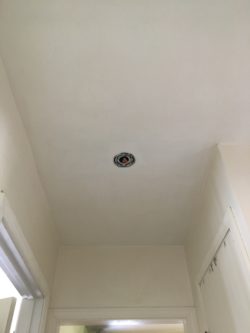
BEFORE: inset fluorescent light 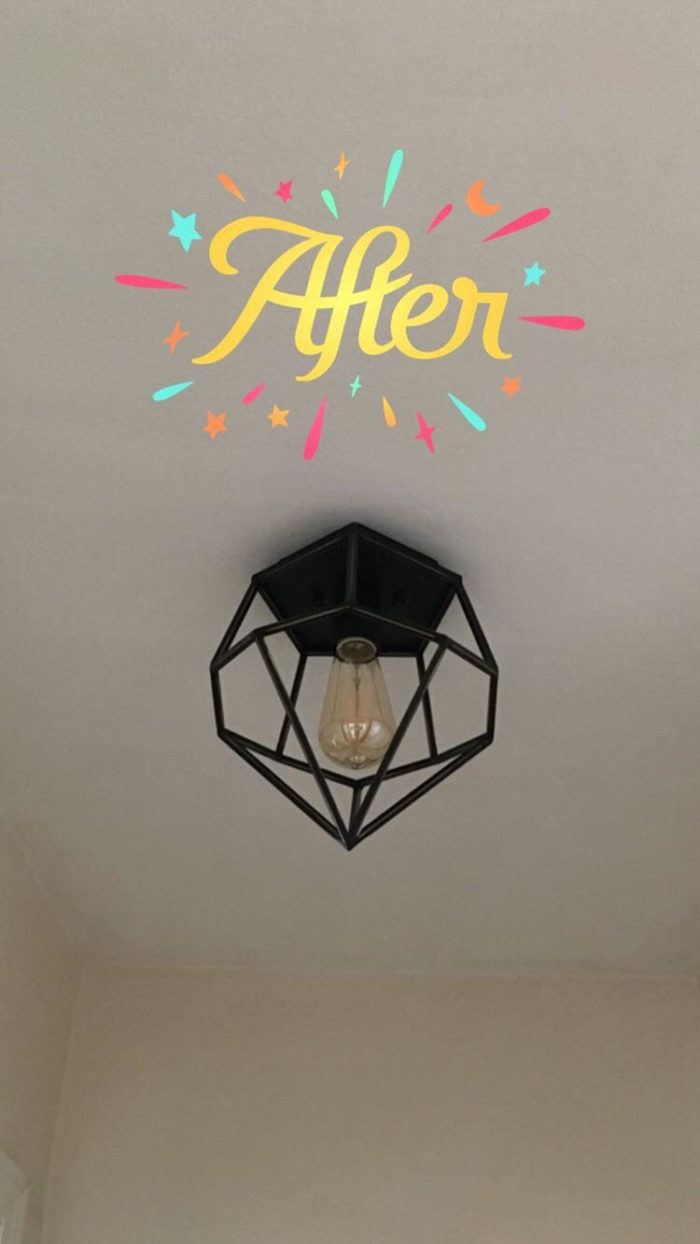
AFTER: flush-mount light
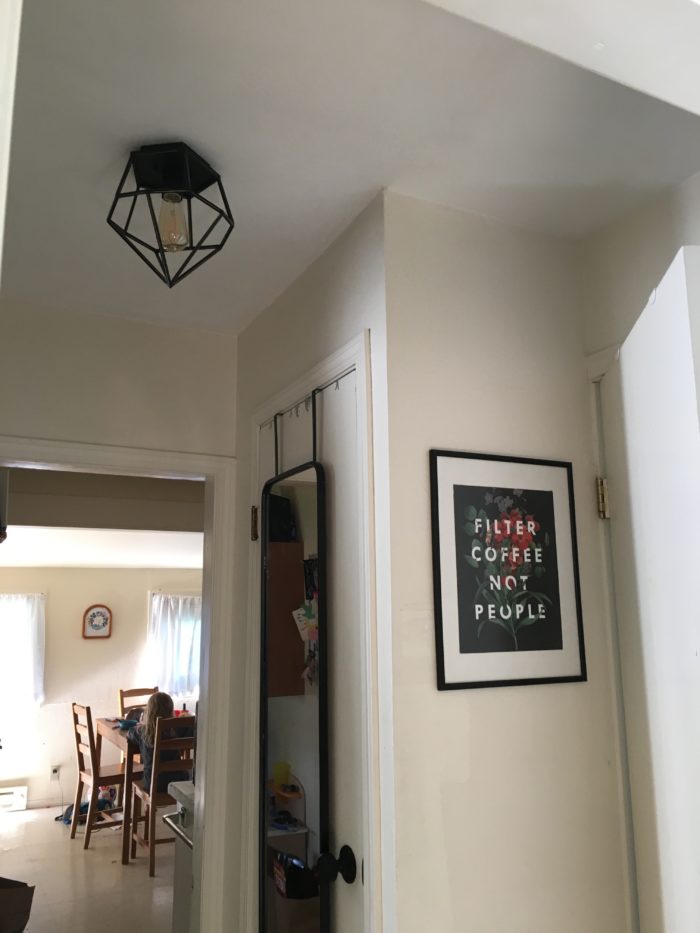
It’s so nice to have a regular light! It feels like such a simple upgrade but I think things like this make a house feel a lot less dated – there’s no way someone would choose that fluorescent light for this hallway if it was a new build, and this way if we ever want to change out the light in the future (or if we ever sell and new owners want to!) it’ll be a piece of cake and won’t involve a two-foot wide ceiling hole.
I keep walking by to admire it!
1 Comment
This looks so good! I would be terrified of doing anything like this, so props to you for being brave and for figuring it all out!